The options menu is an area of the screen that is fixed wherever you navigate throughout the system. This area displays your photo (if available) or your first initial.
The options menu is an area of the screen that is fixed wherever you navigate throughout the system.

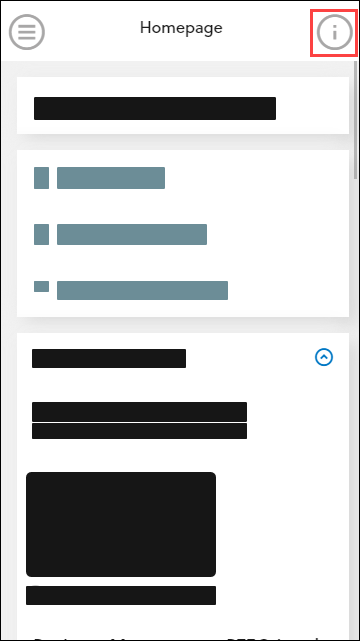
The options menu is minimised by default and can be expanded by tapping the appropriate icons in the top left-hand corner of the screen and top right-hand corner of the screen respectively, so you can then select the required option.
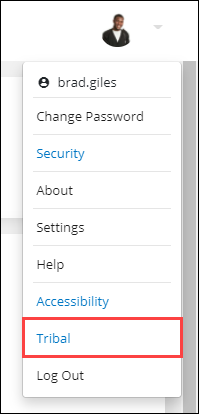
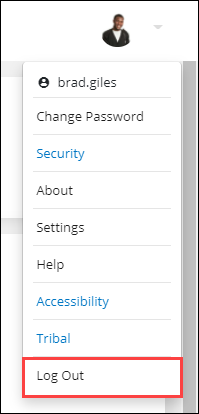
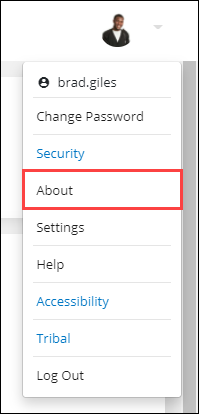
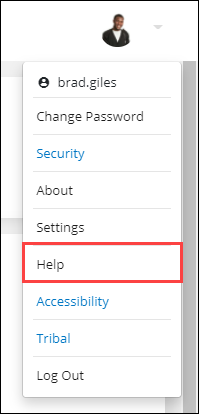
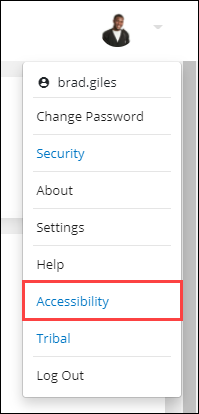
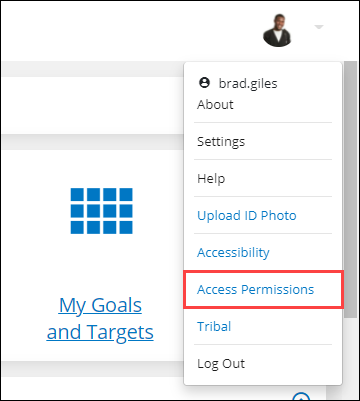
Clicking on the username will display your username and a menu with a list of options.
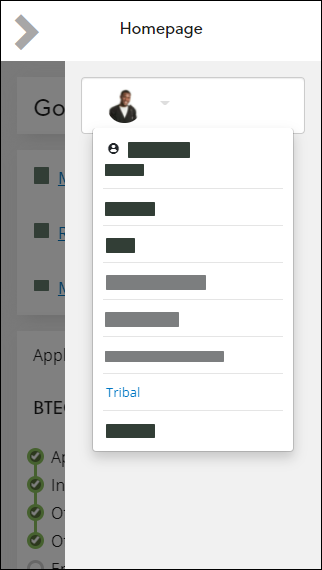
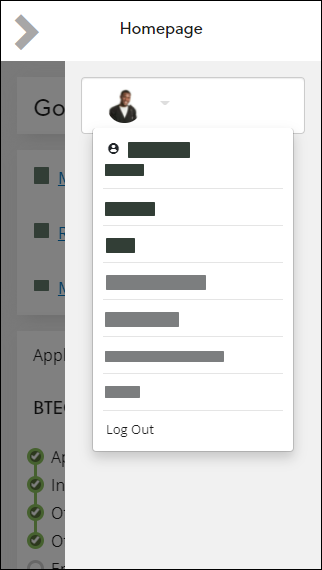
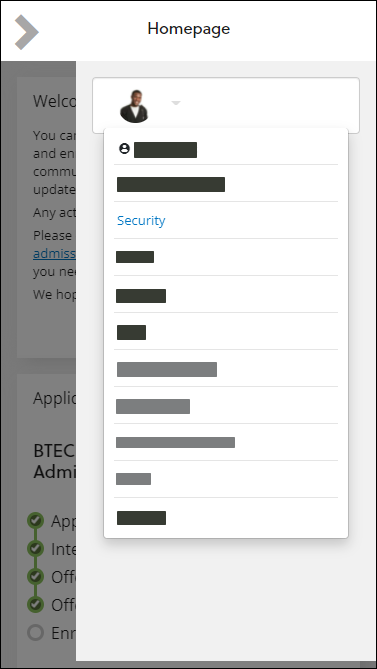
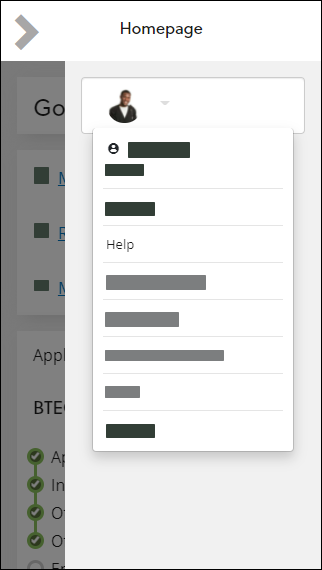
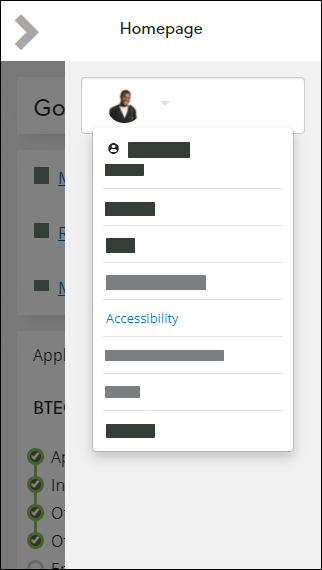
Tapping on your username will display a menu with a list of options.
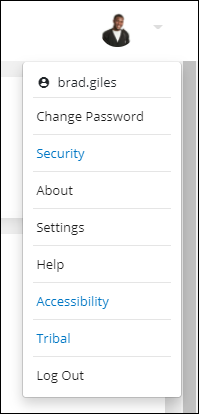
The following options are available:
Use the Change Password option to change your ebs: ontrack Learner Hub password.
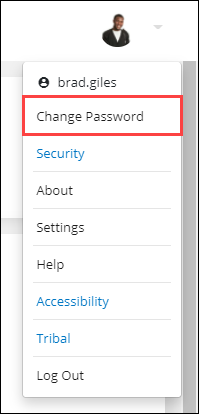
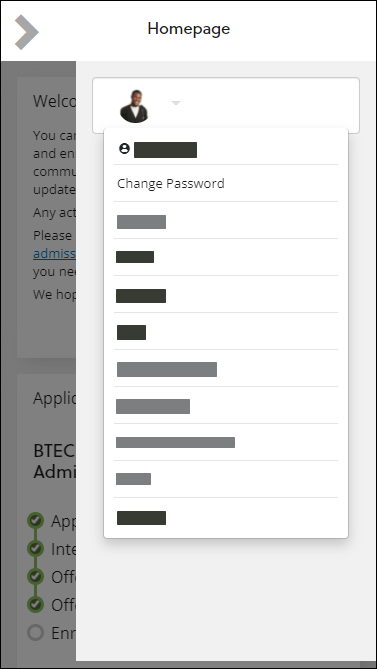
Clicking the option will open the Change Password window.
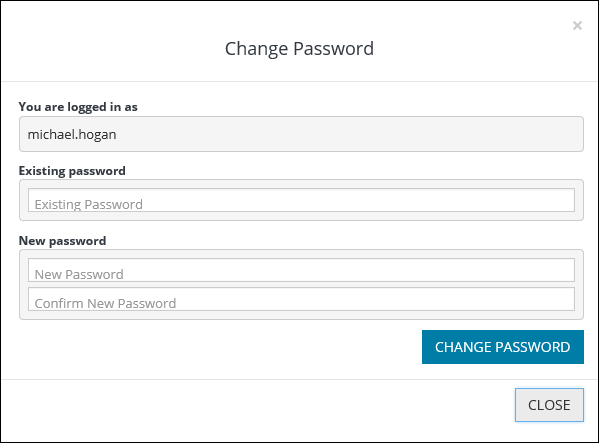
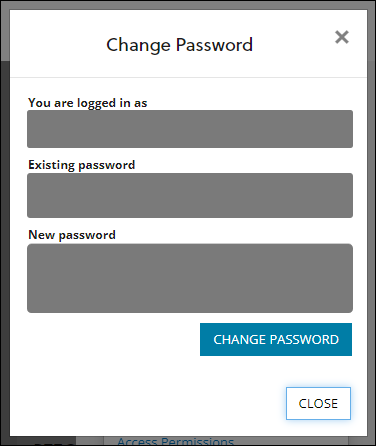
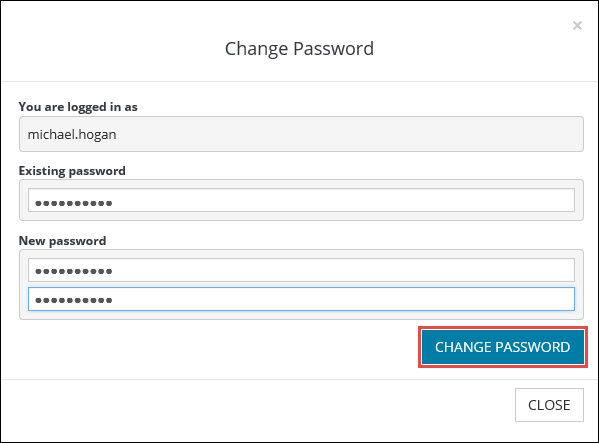
To change the password, enter your existing and new password and then click the Change Password button.
Use the Security option to set your security questions for if you have forgotten your password.
This option is only displayed for users not using single-sign on (SSO).
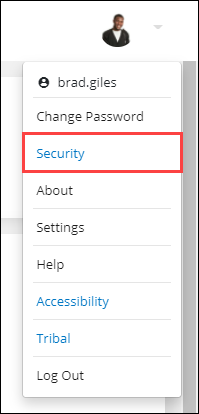
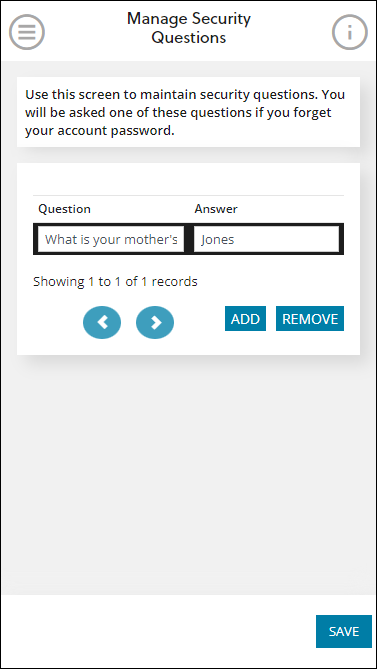
Clicking the option displays the Manage Security Questions screen, where you can view, add or delete your security questions and answers.
Both fields are required.

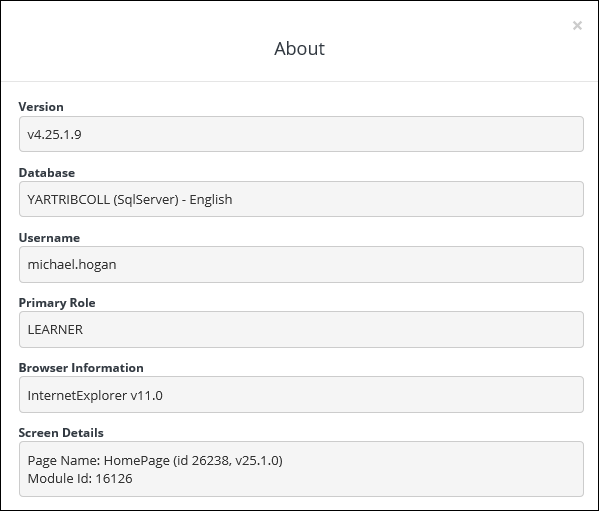
Use the About option to view system information.
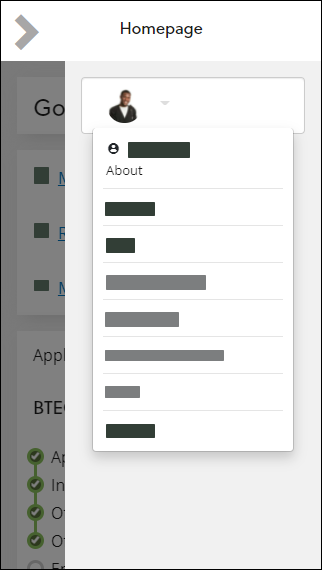
Clicking the option displays the About window which includes information about the following:
-
ebs version, database, current user and the primary role assigned to them
-
Browser information
-
Screen details
-
Accessibility policy statement
-
Copyright notice which identifies all third-party software in use
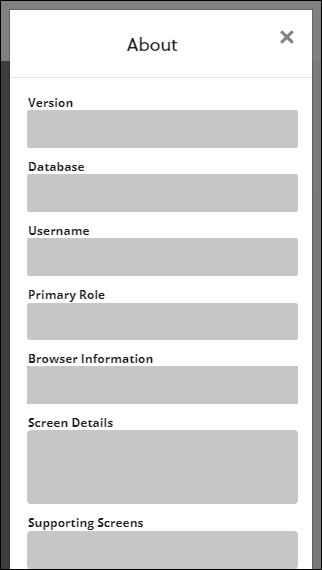
This is not applicable to mobile users.
Use the Settings options to configure the accessibility mode and view the shortcut keys in ebs: ontrack Learner Hub.
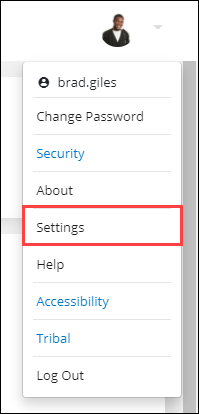
Clicking the option displays the Shortcut Keys option to select.
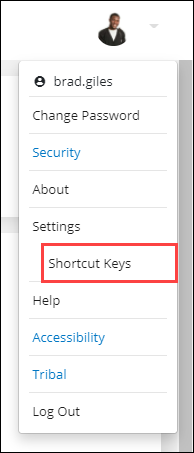
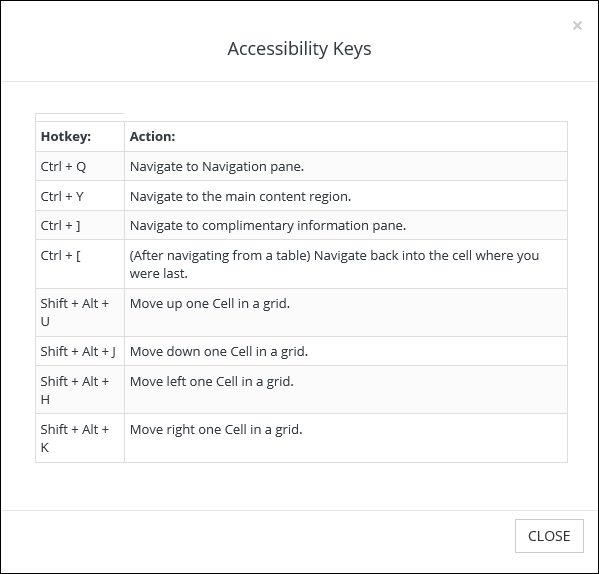
The Shortcut Keys option displays the Accessibility Keys window which includes information on keyboard shortcuts available in ebs: ontrack Learner Hub and the actions they perform.
Use the Help option to open the ebs Online Help website in your default browser if configured to be visible by the institution.
Use the Upload ID Photo option to upload and edit an ID image.
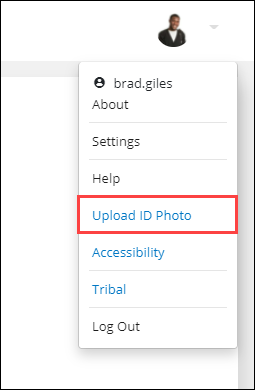
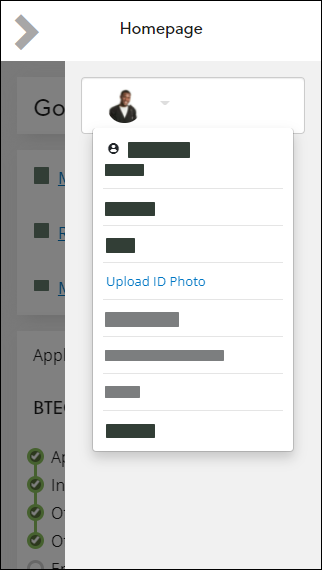
Clicking this option displays the Upload ID Photo screen, where you can upload any image type.
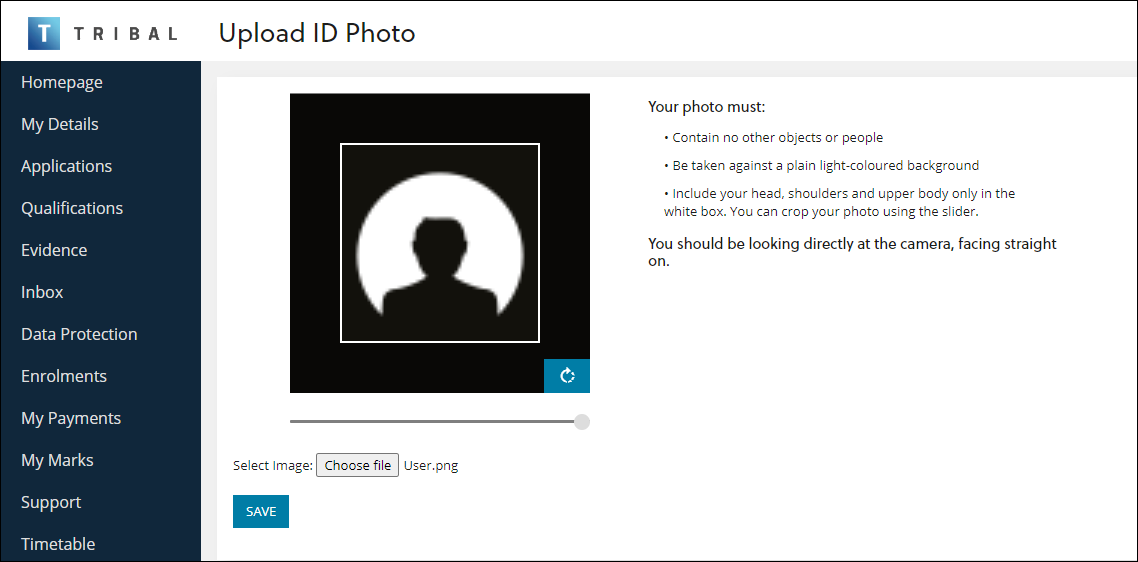
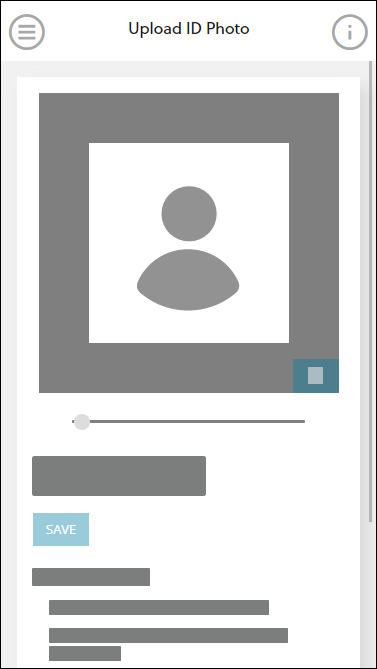
On saving, the photo is saved to the Evidence screen.

Depending on your institution's settings, this may also be set as your profile photo automatically.
Use the Accessibility option to open the Accessibility Statement page, which outlines accessibility details.
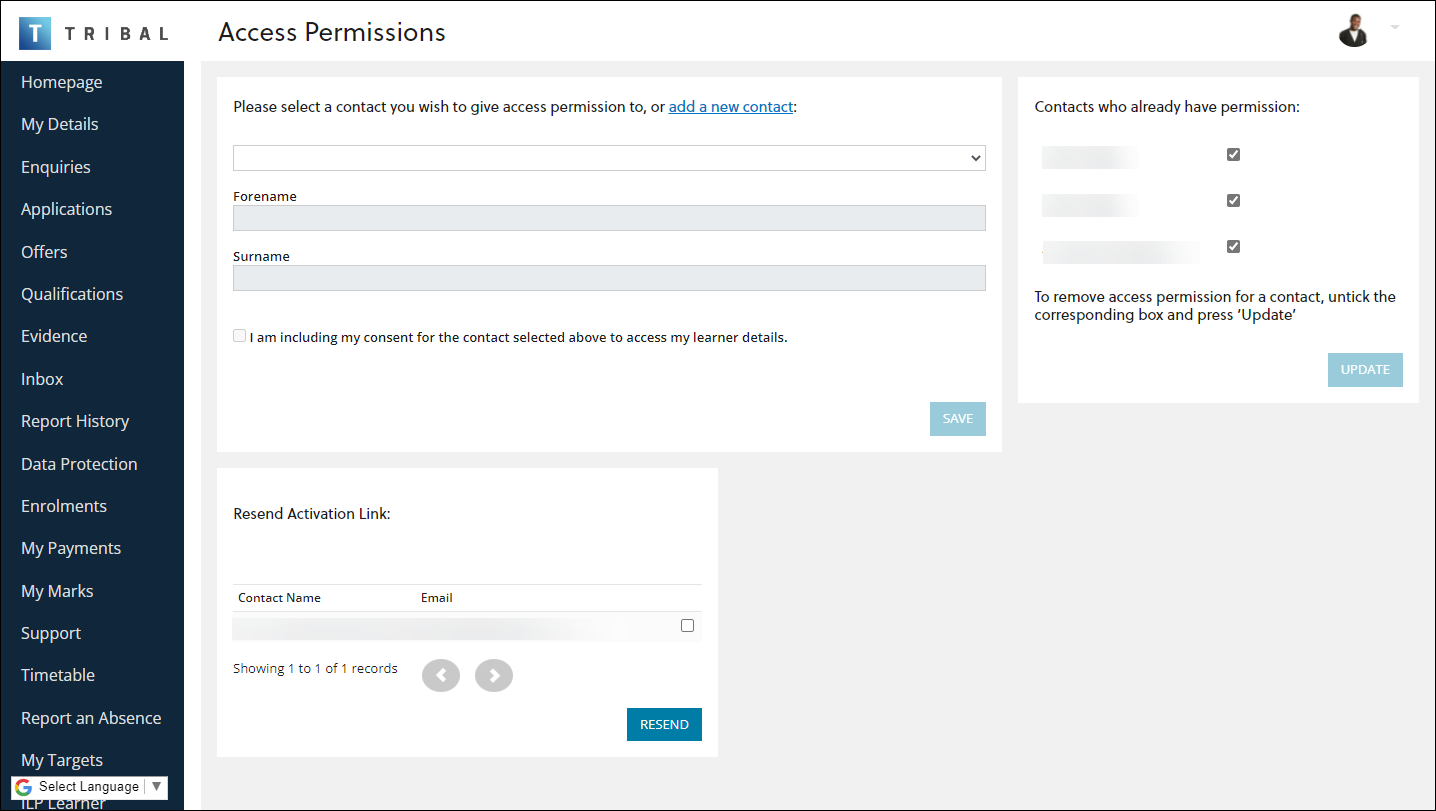
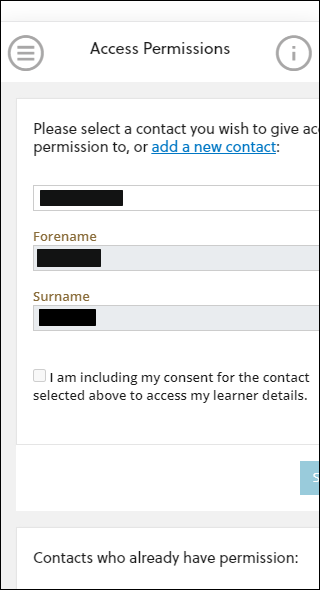
Use the Access Permissions option to provide ontrack access to your parents, carers or other contacts.
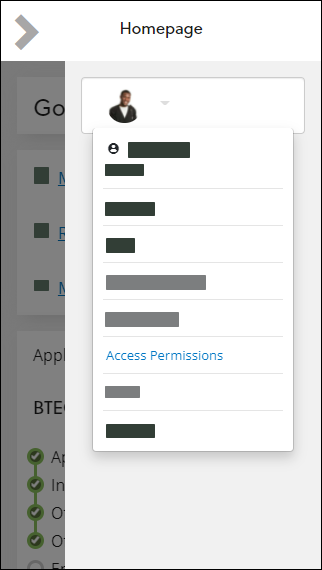
This displays the Access Permissions screen, which allows you to do the following:
-
Select the associated contact that you want to provide access to. Ensure to select the consent check box and then click the Save button. An email is then sent to the contact.
-
Click the add a new contact link to add a contact that is not in the drop-down.
-
Deselect the check box(es) of contacts that you want to remove permissions for and then click the Update button.
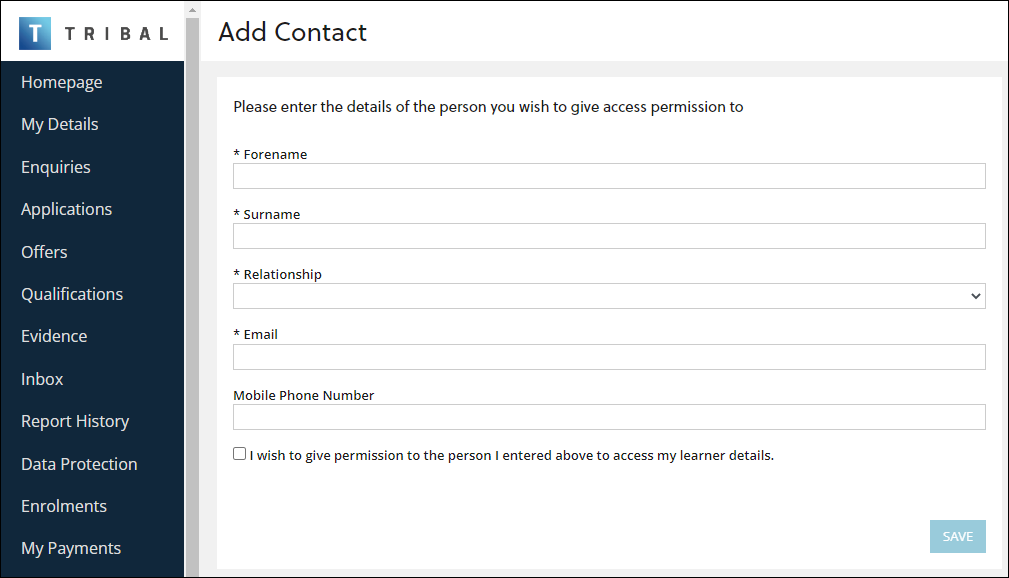
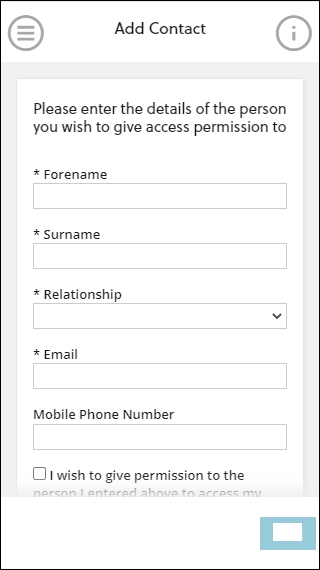
On clicking the Add a Different Contact button, the Add Contact screen is displayed where you can add a contact and specify whether the contact can access your details.
Use the Tribal option to open the Tribal website in your default browser.
